Fleet Assembly
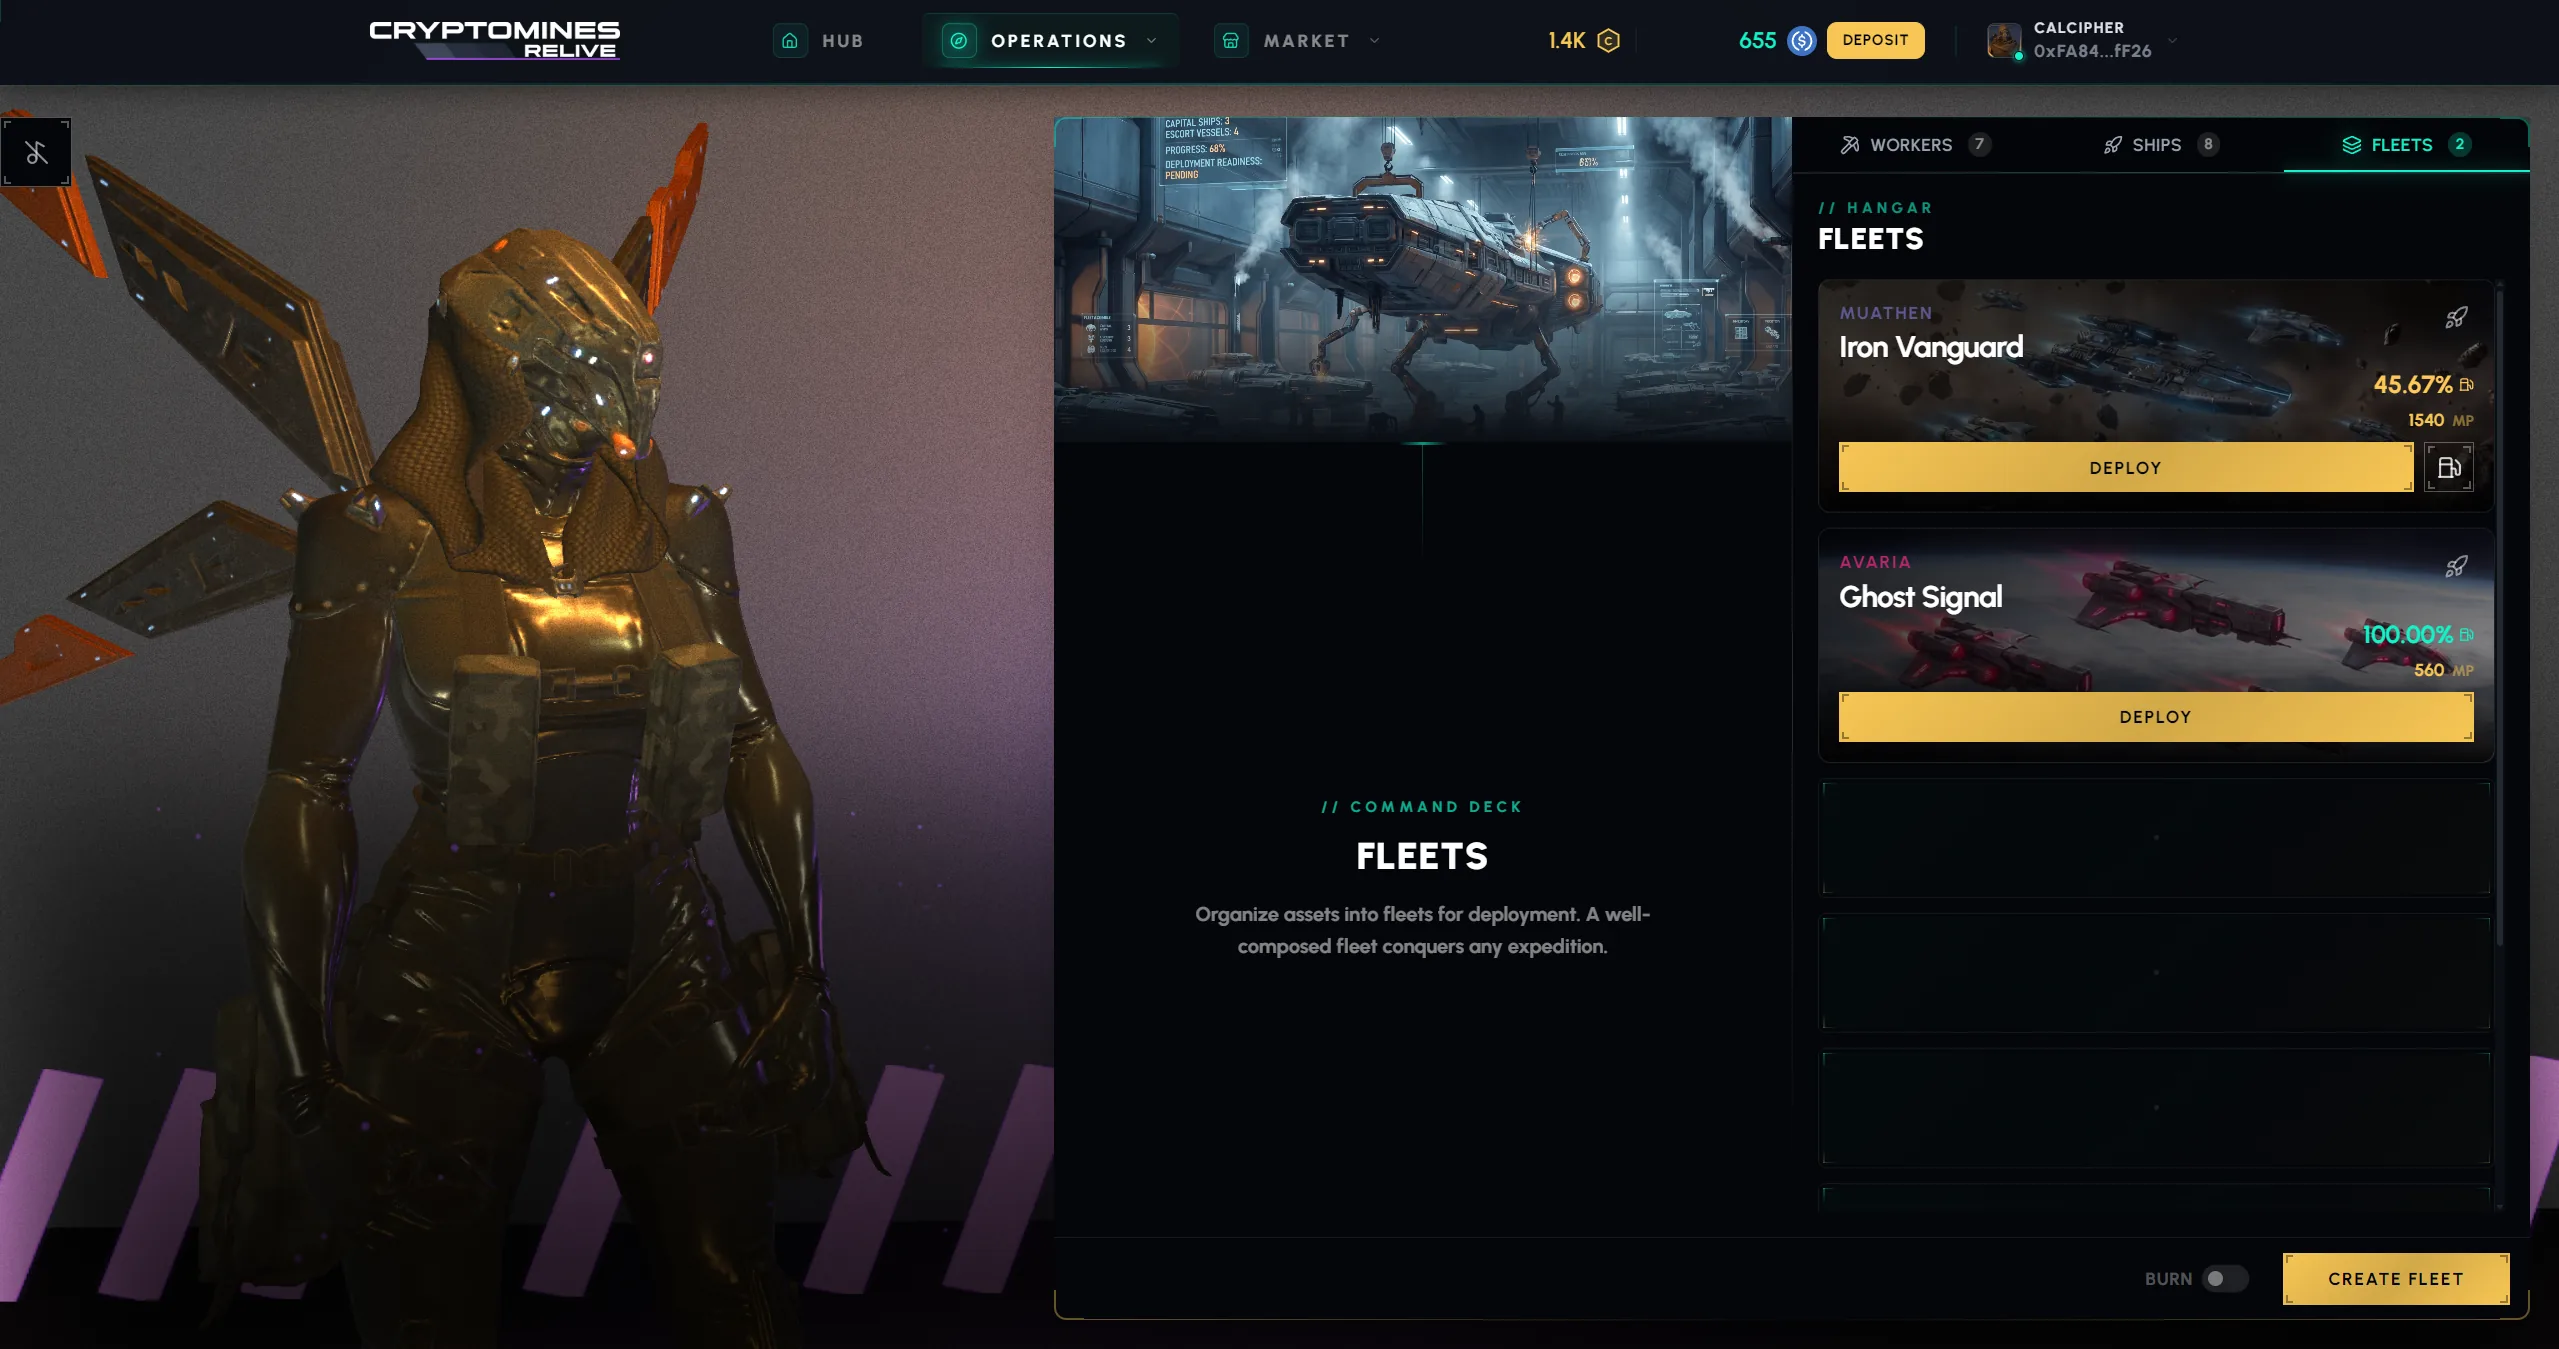
Your fleet is everything. It's your crew, your investment, your shot at whatever's out there. No fleet, no expeditions. No expeditions, no extractions. No extractions, and you're just someone staring at a Hangar full of potential that never flew.
Everything starts here. If you've built fleets before, the Hangar feels the same, the interface, the glow of the fleet cards, the weight of choosing who flies and who stays. The Hangar never closed. It just went quiet for a while.
Workers

Workers are bio-synthetic extraction operatives rated 1 to 5 stars. Star rating reflects how much Mining Power the Worker adds to your fleet. More stars means more MP, that's the whole story.
Higher-star Workers are more expensive, and they add more MP, which raises the value your fleet risks on every run. Every Worker contributes MP to your fleet. When you're building, you can see exactly how much each one adds.
A 1-star Worker and a 5-star Worker run the same zones at the same odds. The 5-star one just carries more value, so it risks more and stands to win or lose more.
Workers don't fly on their own, though. Every Worker needs a seat on a Ship. How many Workers a Ship can carry depends on the Ship's rarity.
Spaceships
Ships are your infrastructure: hull integrity, engine power, extraction chambers. But they're also what determines the size of your crew. Each Ship has a crew capacity — the number of Workers it can carry onboard.
| Ship Rarity | Crew Capacity |
|---|---|
| Common | 1 Worker |
| Uncommon | 2 Workers |
| Rare | 3 Workers |
| Epic | 4 Workers |
| Legendary | 5 Workers |
A Legendary Ship carrying five high-star Workers holds a serious amount of value. A Common Ship with one Worker holds far less. Both fly the same, both extract the same, and both face the same odds in any zone. What changes is how much each one risks.
A fleet can carry a maximum of 10 Ships. That's the ceiling. Ten Ships, each loaded with Workers up to their capacity. How you fill those ten slots is the decision that defines your fleet.
You'll find everything from Common workhorses to Legendary vessels on the Marketplace. Each one has its own stats, its own look, its own crew capacity, and its own value in a trade.
Getting Workers & Ships
There are two ways to fill your Hangar: minting and the Marketplace.
Minting
Head to the Hangar, pick either Ships or Workers, and hit the mint button. You'll choose a Blueprint tier and how many you want (up to 10 at a time).
Every mint rolls a star rating from 1 to 5. The odds are the same across all blueprints. What changes is the Mining Power (MP), higher-tier blueprints produce higher-MP assets at every star level.
Standard — 50 Cargo
| Stars | Chance | MP Range |
|---|---|---|
| 1 ★ | 44% | 16 – 18 |
| 2 ★ | 35% | 18 – 23 |
| 3 ★ | 15% | 29 – 61 |
| 4 ★ | 5% | 63 – 147 |
| 5 ★ | 1% | 175 – 700 |
Advanced — 200 Cargo
| Stars | Chance | MP Range |
|---|---|---|
| 1 ★ | 44% | 66 – 73 |
| 2 ★ | 35% | 75 – 92 |
| 3 ★ | 15% | 118 – 245 |
| 4 ★ | 5% | 252 – 588 |
| 5 ★ | 1% | 700 – 2,800 |
Prototype — 500 Cargo
| Stars | Chance | MP Range |
|---|---|---|
| 1 ★ | 44% | 166 – 183 |
| 2 ★ | 35% | 189 – 231 |
| 3 ★ | 15% | 295 – 614 |
| 4 ★ | 5% | 630 – 1,470 |
| 5 ★ | 1% | 1,750 – 7,000 |
Quantum — 1,000 Cargo
| Stars | Chance | MP Range |
|---|---|---|
| 1 ★ | 44% | 332 – 367 |
| 2 ★ | 35% | 378 – 462 |
| 3 ★ | 15% | 591 – 1,228 |
| 4 ★ | 5% | 1,260 – 2,940 |
| 5 ★ | 1% | 3,500 – 14,000 |
The star you roll is luck. The blueprint you choose is strategy.
Once you confirm, your assets go through a reveal sequence. You'll see each card flip and show its star rating. Whatever you pull is yours immediately, ready to assign to a fleet.
Marketplace
If you'd rather skip the odds, browse the Marketplace. Other Commanders list their Workers and Ships for sale at prices they set. You can filter by rarity, mining power, and price to find exactly what you need. Buy it, and it shows up in your Hangar.
You can also list your own assets. If you pull duplicates or want to upgrade, selling on the Marketplace is a good way to recycle.
Burning
Don't want something? Burn it. Select any unassigned Worker, Ship, or even a full Fleet in the Hangar and trade it back for Cargo. The amount you get depends on the asset. It's a clean way to turn extras into fuel for your next mint.
Dismantling
Different from burning. Dismantle breaks a fleet apart and returns every Worker and Ship to your Hangar reserve, intact and reassignable. Only the fleet record dissolves, nothing gets traded for Cargo.
A fleet has to be at full fuel, not in flight (long-form or quick), and not listed on the Marketplace before it can come apart. Useful when you want to rebalance composition or split one general fleet into specialized builds.
Putting It Together
Once you have Workers and at least one Ship, head to the Hangar and assemble them into a Fleet. Assign Workers to Ships based on each Ship's capacity. Name the fleet. Something that matters to you, because it's going where you can't follow.
Your fleet card shows everything at a glance:
| Stat | What it tells you |
|---|---|
| Mining Power (MP) | Combined value of all Workers and Ships. It sets how much you risk each run. It does not change your odds in any zone. |
| Fuel | Starts at 100%. Each expedition burns a percentage. When it runs low, refuel with Cargo. |
| Ships | Number of ships in the fleet (max 10). |
| Workers | Number of crew members across all ships. |
| Faction | Your fleet's alignment. |
Rarity
Every asset has a rarity tier. It sets how much MP the unit tends to carry, a Ship's crew capacity, and the unit's Marketplace value:
| Rarity | What to expect |
|---|---|
| Common | Reliable. Where most Commanders start. Ships carry 1 Worker. |
| Uncommon | More MP per unit. Ships carry 2 Workers. A modest step up in value. |
| Rare | Higher MP. Ships carry 3 Workers. A meaningful jump in what the unit is worth. |
| Epic | High MP. Ships carry 4 Workers. Expensive to acquire, valuable to hold. |
| Legendary | The highest MP in the game. Ships carry 5 Workers. People notice when one hits the Marketplace. |
Rarity sets how much you risk, not your odds
Rarity and MP decide how much value your fleet carries, a Ship's crew capacity, and the Marketplace price. They do not change how a zone treats you. A Legendary fleet and a Common fleet sent into the same zone face the same wipe odds and the same payout range. Rarity decides how much you risk, not how you perform.
The Decision
Fleet composition is where the game really lives. You've got 10 Ship slots. Each Ship has a crew capacity based on its rarity. And every Worker you assign adds MP to the total. So you're always balancing three things:
- Ship quality: fewer high-rarity Ships can carry more Workers per slot than a full rack of Common ones
- Worker quality: a 5-star Worker in a Legendary Ship adds dramatically more MP than a 1-star in a Common hull
- Investment vs. risk: higher-rarity, higher-star assets cost more Cargo and add more MP. That raises how much you risk and can win, not your odds. A harder zone treats every fleet the same.
A fleet of 10 Legendary Ships, each carrying 5 five-star Workers, is the theoretical maximum — 50 elite operatives in a fleet. Most Commanders won't get there overnight. But that's the ceiling, and every fleet decision you make is a step toward it or a conscious choice to deploy what you have right now.
Some Commanders run lean fleets into easy zones for steady, low-risk returns. Others stack everything they've got and push into Sector G where the hauls are massive and the losses are real. There's no right answer. There's just the fleet you built and the zone you chose.
Info
You can own multiple fleets. Some Commanders keep a safe fleet for daily operations and a separate high-risk build for deep sector pushes. Smart diversification isn't just for finance.